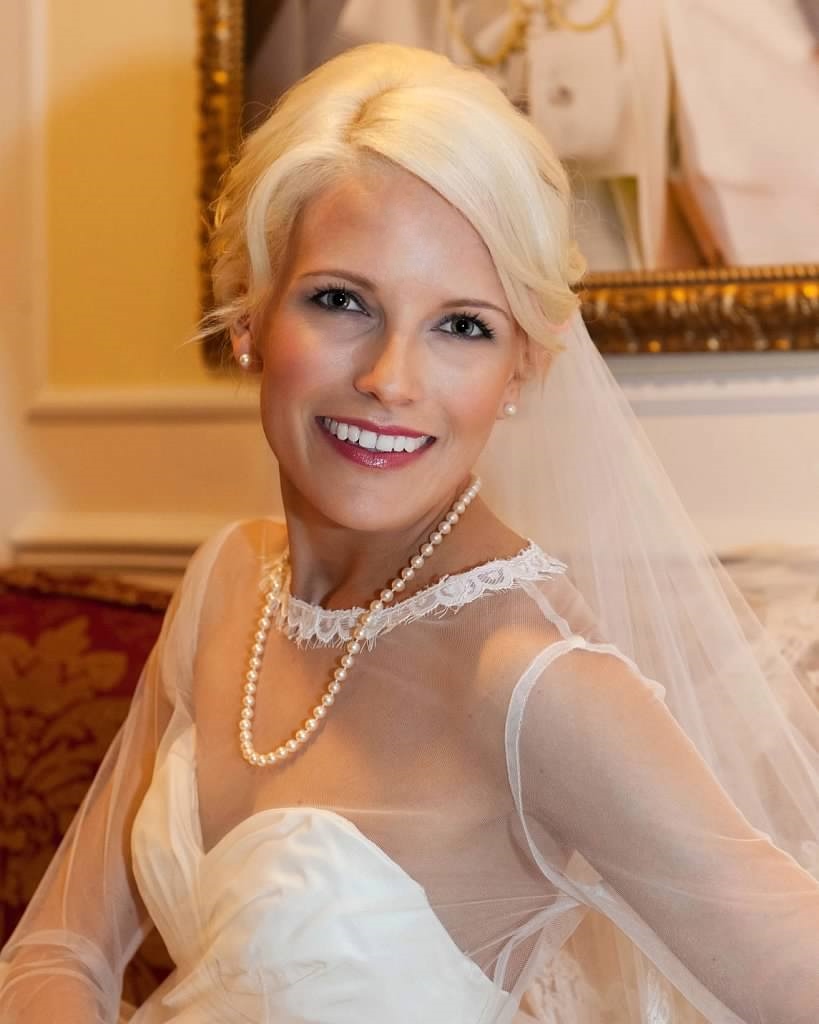
Every bride envisions walking down the aisle with a radiant, flawless glow that captures both elegance and natural beauty. The “bridal nude and glowy makeup look” has emerged as a top choice for modern brides who desire a timeless appearance that feels both sophisticated and fresh. In this guide, we’ll walk you through the essential steps to achieve this look, making sure you shine in all the right ways on your special day.
Understanding the Nude & Glowy Makeup Look
The nude and glowy makeup look is all about enhancing your natural beauty with subtle, neutral tones while adding a luminous glow that gives your skin a healthy, dewy finish. Unlike heavy, dramatic makeup styles, this approach focuses on a soft, understated aesthetic that allows your features to shine through without overpowering your face.
The key to this look is balance—highlighting the right areas, blending meticulously, and choosing the perfect shades to complement your skin tone.
Step 1: Preparing Your Skin for the Perfect Base
The secret to achieving a flawless glowy makeup look starts long before you pick up a makeup brush. Skincare is crucial, as a well-prepared canvas allows makeup to glide on smoothly and last throughout the day.
- Hydration is Key: Start by ensuring your skin is well-hydrated. Use a nourishing moisturizer that suits your skin type, focusing on dry areas that might cause makeup to cling or flake. For an extra boost, consider incorporating a hydrating serum or facial oil into your routine in the weeks leading up to your wedding.
- Exfoliation: Regular exfoliation helps remove dead skin cells, promoting a smoother complexion. This step is essential for achieving that seamless, glowy finish. Choose a gentle exfoliant to avoid irritation, and use it 2-3 times a week.
- Primer: After your skincare routine, apply a lightweight, illuminating primer. A primer not only helps your makeup stay put but also creates a smooth surface, filling in any fine lines or pores. Opt for a primer with light-reflecting particles to enhance the glow without looking too shiny.
Step 2: Creating a Flawless Base
A flawless base is the foundation of the nude makeup look. It’s about achieving a natural, even complexion that still looks like your skin—just better.
- Foundation Selection: Choose a foundation that matches your skin tone perfectly. The goal is to even out your complexion without masking your natural features. Look for a lightweight, buildable foundation with a satin or dewy finish to maintain the glow. Apply with a damp beauty sponge or a foundation brush, blending well into the skin for a seamless look.
- Concealer: Use a creamy concealer to cover any blemishes, redness, or under-eye circles. Opt for a shade that is one to two shades lighter than your foundation for the under-eye area to brighten up your face. Blend the concealer with a damp sponge, ensuring there are no harsh lines.
- Setting the Base: While we want to keep the glow, it’s important to set your foundation and concealer to prevent any creasing, especially for a long day like your wedding. Use a translucent setting powder, focusing on the T-zone and under the eyes, to keep shine at bay without dulling the glow.
Step 3: Enhancing the Glow with Highlighter
Highlighter is your best friend when it comes to the glowy makeup look. It’s what gives your skin that coveted lit-from-within radiance.
- Choosing the Right Highlighter: Select a highlighter that complements your skin tone—champagne or pearl for fair skin, gold or rose gold for medium skin, and bronze or copper for deeper skin tones. Cream or liquid highlighters tend to blend more naturally into the skin, giving a subtle glow.
- Application: Apply highlighter to the high points of your face—cheekbones, brow bones, the bridge of your nose, and the cupid’s bow. For an ethereal glow, lightly dab some highlighter on the center of your eyelids and the inner corners of your eyes. Blend well to avoid any harsh lines.
- Less is More: It’s easy to go overboard with highlighter, but remember that the goal is a natural glow. Start with a small amount and build up if necessary.
Step 4: Subtle Contouring & Blush
Contouring and blush add dimension and warmth to your face, crucial for a nude makeup look that doesn’t fall flat.
- Contouring: For a subtle contour, choose a shade that is only slightly darker than your natural skin tone. Apply it to the hollows of your cheeks, the sides of your nose, and along your jawline to enhance your natural bone structure. Blend thoroughly to avoid any harsh lines.
- Blush: A soft, rosy blush on the apples of your cheeks adds a healthy flush to your complexion. Choose a shade that mimics your natural blush—peachy tones work well for fair skin, pinks for medium skin, and deeper plums or burnt oranges for darker skin tones. A cream blush can be particularly effective for maintaining that dewy, fresh-faced look.
Step 5: Natural, Defined Eyes
The eyes are a focal point in any bridal makeup look, but for a nude and glowy makeup look, the key is subtle definition.
- Eyeshadow: Stick to neutral tones like soft browns, taupes, and champagne shades. Start with a light, matte shade over the entire lid, then blend a slightly darker shade into the crease for depth. Add a touch of shimmer on the center of the lid and the inner corners to brighten the eyes.
- Eyeliner: A soft, brown eyeliner can define your eyes without being too harsh. Line your upper lash line with a thin line and slightly smudge it out for a softer look. You can skip the liner on the lower lash line or use a light, smudged brown pencil for subtle definition.
- Mascara: Curl your lashes and apply a few coats of lengthening mascara. For a more natural look, avoid heavy, clumpy mascaras. Consider waterproof mascara to ensure your look stays perfect through any emotional moments.
- Brows: Well-groomed brows are essential for framing your face. Use a brow pencil or powder that matches your natural brow color to fill in any sparse areas, focusing on a soft, natural shape. Set with a clear brow gel to keep them in place all day.
Step 6: Lush, Nude Lips
The perfect nude lip ties the entire look together, offering a polished finish that doesn’t overpower the rest of your makeup.
- Lip Prep: Just like your skin, your lips need to be well-prepped. Exfoliate with a gentle lip scrub to remove any dry, flaky skin, then apply a hydrating lip balm.
- Lip Liner: Outline your lips with a nude lip liner that matches your natural lip color or is slightly darker. This helps define your lips and prevent any lipstick from feathering.
- Lipstick: Choose a nude lipstick that complements your skin tone. For fair skin, opt for pinkish nudes; medium skin tones look great with peachy nudes, while deeper skin tones can rock caramel or brown nudes. For a glowy finish, consider a satin or sheer lipstick rather than a matte one.
- Gloss (Optional): If you prefer a glossy finish, add a clear or lightly tinted gloss to the center of your lips for extra dimension and shine.
Step 7: Setting It All in Place
Your wedding day will be filled with emotions, photos, and lots of movement, so it’s crucial to set your makeup properly.
- Setting Spray: Finish your makeup with a hydrating, luminous setting spray to lock everything in place and enhance your glow. Hold the spray about an arm’s length away from your face and mist lightly, ensuring an even application.
- Touch-Up Kit: Prepare a small touch-up kit with essentials like blotting papers, lipstick, and powder. This will help you maintain your nude and glowy makeup look throughout the day without requiring a full reapplication.
Conclusion on Perfect Bridal Nude & Glowy Makeup
The nude and glowy makeup look is a perfect choice for brides who want to look effortlessly radiant on their wedding day. By focusing on natural tones, a flawless base, and strategic highlighting, you can achieve a timeless look that enhances your beauty without overpowering it.
Remember, the key to this look is balance-keeping everything soft, blended, and luminous. With the right products and techniques, you’ll walk down the aisle with a glow that will be unforgettable.